
Wiki
World and Services
A practical map of the important NPCs, spawn hubs, horse systems, and support services across Bridger Western.
Bridger Western has a lot of named NPCs, but only a handful matter on most builds.
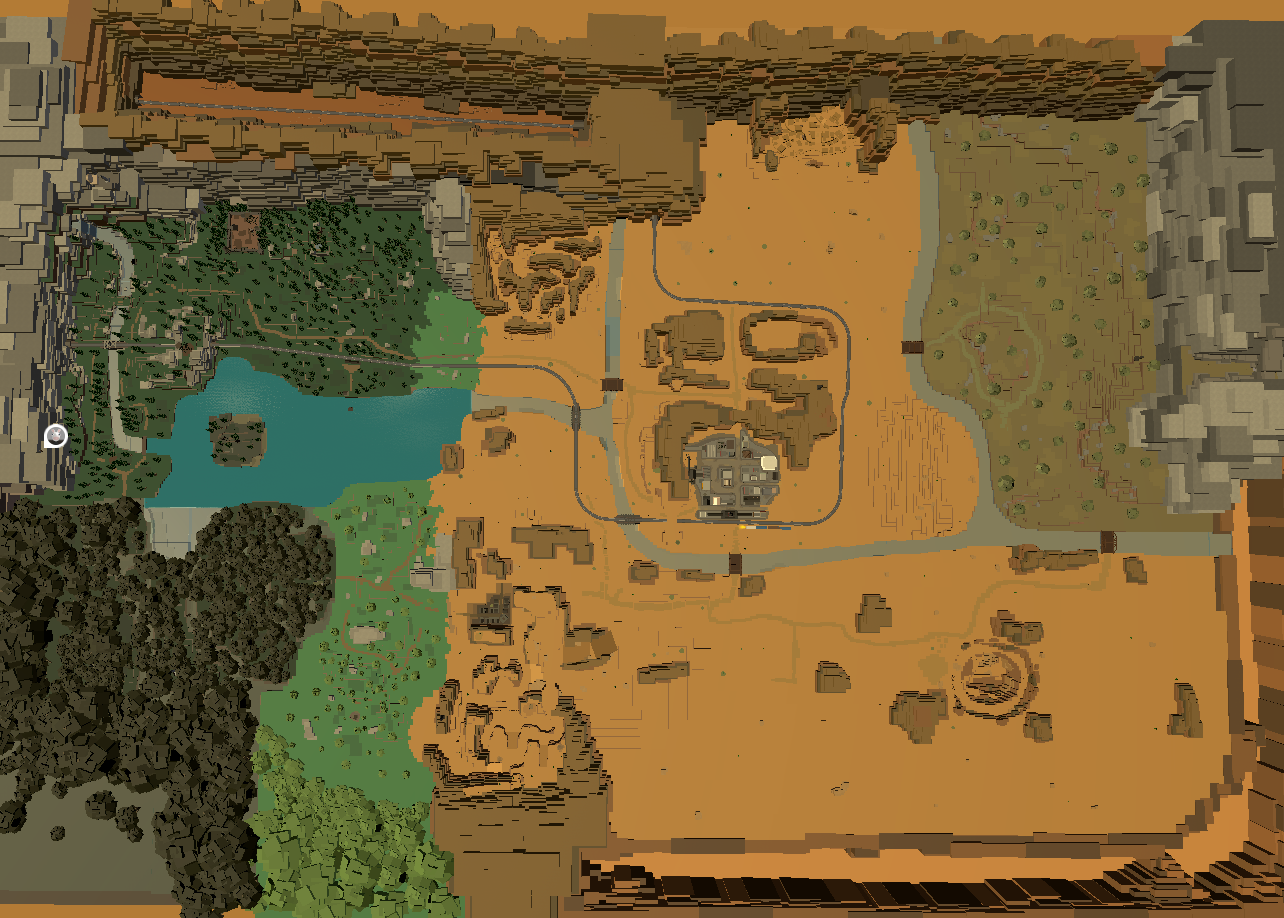
Important Hubs
The map matters most when you pair it with the main service NPCs. These are the hubs that actually organize your runs.
The handful of map zones that actually matter in real route planning.
| Hub | Role | Key services | Route note |
|---|---|---|---|
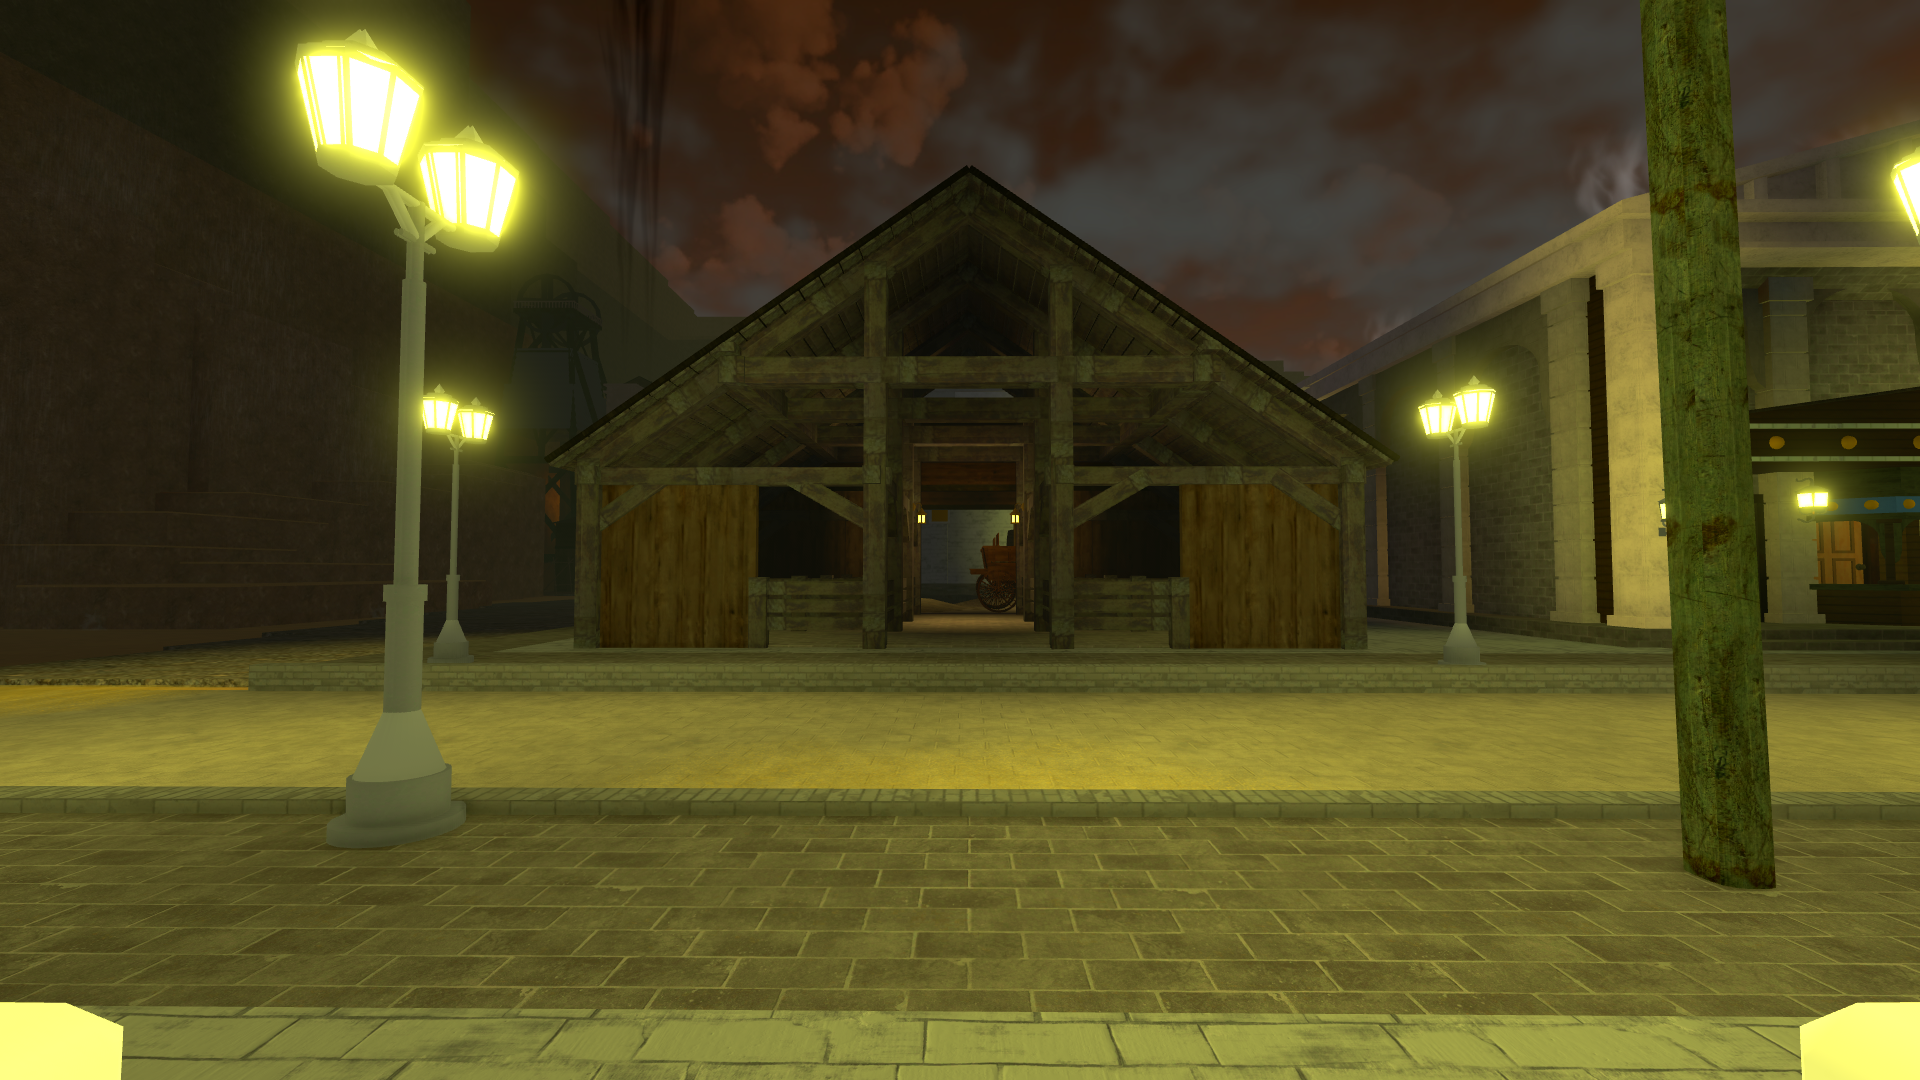
| Main Town | Safe core hub | Gun Store, General Store, Tailor, Barbershop, Bank, Horse Stables | The cleanest place to stabilize a new slot before you branch into outlaw or swamp routes. |
| Ridge B. County | Progression pivot | Flint / Blacksmith, Can Quest access, bridge train stop | The best mid-route checkpoint if you are fishing for Mare's Leg or chaining into Can Questline. |
| Swamp | High-risk utility zone | Mud Witch, encounter pressure, Dogbane-related progression | Worth entering only when you actually need cards, age reset, stand wipe, or Dogbane cashout. |
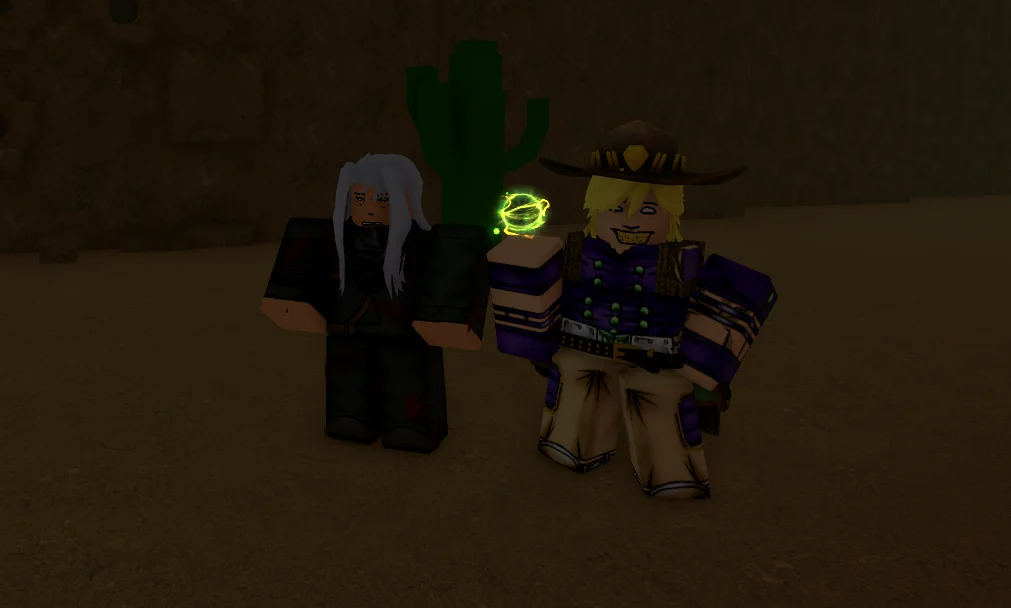
| Outlaw Camp | Alternative gear route | Jim's dealer stock, outlaw-side horse stable, outlaw spawn routing | Good when your build needs extra guns, throwables, or you want a more aggressive spawn loop. |
| Red Corner | Skill-to-money loop | Fight Club wager arena | Only efficient if your melee confidence is real; otherwise it is just a 300-moola tax. |
| Vampire Ruins / Ominous Cave | Alignment pressure zone | Vampire spawn area | Relevant mostly for vampire-focused routes and anti-vampire utility planning. |
Key Service NPCs
Two vendor names are especially useful in route planning:
- the main weapon vendor is commonly referred to as Moe's Gun Store
- the outlaw-side weapons seller is Jim at the Outlaw Camp
Main NPCs and service points, with the practical notes that actually matter once you start planning routes.
| Service | Location | Primary use | Route note |
|---|---|---|---|
| Main Town | Sells the core firearm lineup: revolvers, Mauser, Bow, and the early primary pool. | The default money sink for most fresh slots; usually your first hard purchase decision. | |
| Main Town | Stocks core utilities like knives, hat, poncho, lasso, coin, and lantern. | Where utility plans become real. Most support builds start here, not in random drops. | |
| Main Town | Rerolls shirt and pants for 15 moola each, accessories for 30 moola (single accessory slot). | Pure presentation, but cheap enough that players often hit it once a slot is stable. | |
| Main Town | Rerolls hairstyle for 25 moola and hair color for 15 moola. | Lower priority than Tailor for gameplay, but part of the same main-town cleanup loop. | |
| Swamp | Fortune reading for cards or Dogbane exchange for stand wipe, age reduction, or 2500 moola. | One of the most important progression NPCs in the game, but not one you visit casually. | |
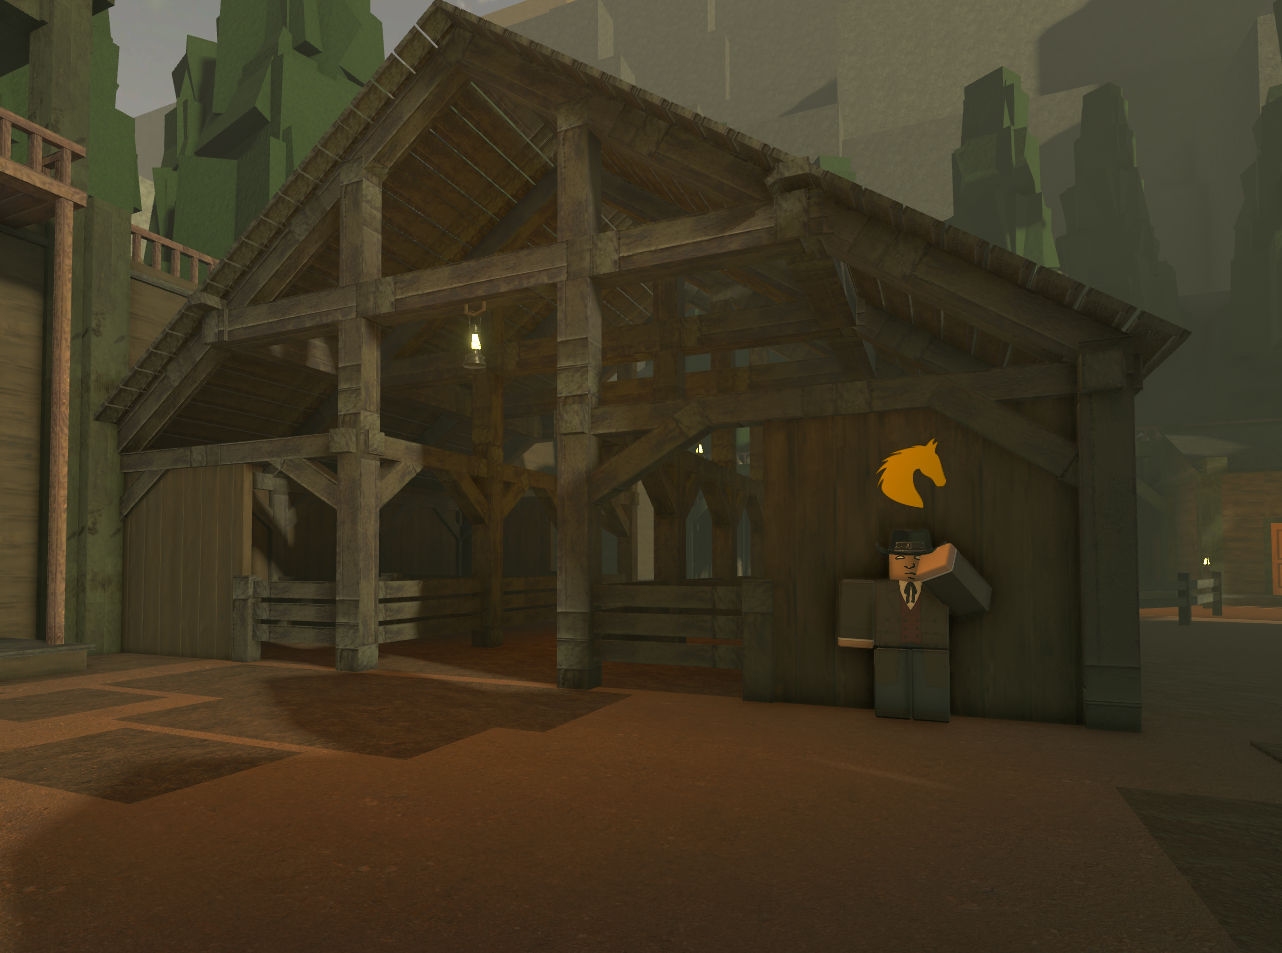
| Main Town and Outlaw Camp | Replaces your mule with rerollable horses; rerolling costs 20 moola and good horses usually start around 800+. | Legendary/mythical tags boost already-rolled stats rather than guaranteeing perfect stat lines. | |
| Outlaw Camp | Sells extra guns, throwables, and outlaw-side alternatives including Colt Ocelot and DB Shotgun. | Important because it changes your shopping geography; you do not always need to bounce back to town. | |
| Main Town Bank | Stores guns, utilities, and other gear to work around inventory caps (2 guns / 3 utilities on-slot). | Very efficient for preserving niche gear between runs, but banked items still disappear on wipe. | |
| Ridge B. County bridge / train stop | Starts the Can Questline and repairs rusted Mare's Leg for 1500 moola. | The main bridge between fishing jackpots and usable weapon progression. | |
| Red Corner | Registers players on the mats and sends them into no-guns fist-fight wagers. | Mat colors show vacancy/occupancy, losing costs 300 moola, and outside interference is still possible. | |
| Alignment-locked spawn hubs | Lets you change your spawn point for 150 moola through matching spawn NPCs. | Quietly one of the best quality-of-life systems because it shortens bad corpse runs and route resets. | |
| Main menu slot actions | Full character reset for alignment, spawn, and appearance reroutes. | The dependable reset path when you want a clean rebuild without waiting on inactive systems. |
Service Mechanics To Know
| Service | Key mechanical detail |
|---|---|
| Banker | Helps rotate around the on-slot cap of 2 guns and 3 utilities |
| Tailor | Shirt/pants reroll costs 15, accessory reroll costs 30 with one active accessory slot |
| Barbershop | Hairstyle reroll 25, hair color reroll 15 |
| Red Corner | Mats indicate vacancy/occupancy; once both players register they are teleported below |
| Flint | Repairs rusted Mare's Leg for 1500 moola near Ridge B. County bridge |
| Lumber NPC | Sells the Axe for 250 moola and buys wood for 20 moola each |
| Brewing Station | Campsite kettles turn tea plants into brewed tea buffs |
| Gyro | Unlocks Spin after his requirement chain and 25,000 moola payment |
General Store Prices
| Item | Price |
|---|---|
| Knives | 8 moola |
| Cowboy Hat | 125 moola |
| Poncho | 250 moola |
| Lasso | 150 moola |
| Coin | 125 moola |
| Lantern | 80 moola |
Quick NPC Price Notes
These numbers are useful for route math when you restock often:
- Gun Store ammo pack: 5 moola
- Gun Store arrow pack: 5 moola
- Gun Store silver ammo pack: 70 moola
- Outlaw dealer tonic: 12 moola
- Outlaw dealer knives: 8 moola
- Lumber NPC axe: 250 moola
- Lumber NPC wood sale: 20 moola each
- Gyro Spin unlock: 25,000 moola
- Gyro grills after max Spin proficiency: 2,000 moola
Lumber NPC And Logging Route
- the Lumber NPC sits behind Anthill Island, left of the Red Corner tunnel
- this NPC sells the Axe
- chopped wood can be sold back directly for cash
- logging also feeds rare drops like Rokakaka Seeds, Wooden Stake, and swamp-only Dogbane Herb
That makes the area around Red Corner and Anthill Island more relevant for low-pressure farming than before.
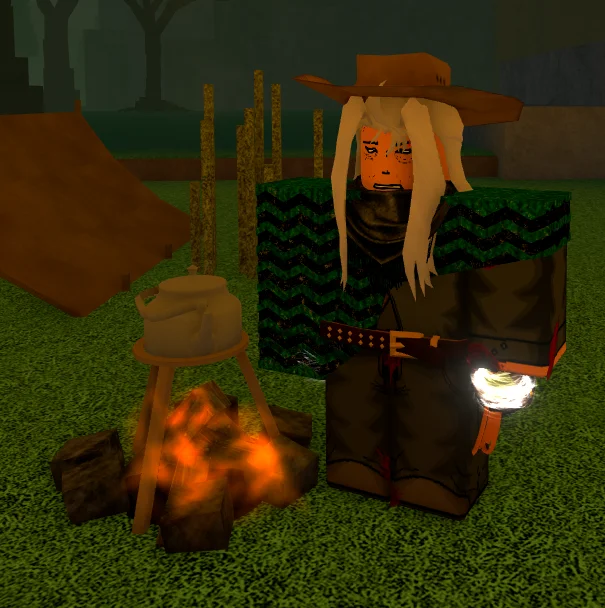
Brewing Stations
Brewing stations are kettles near campsites. If you interact with a kettle while holding a tea plant, it starts the brewing process; after it boils, interact again to receive the tea.
Use Brewing for plant locations and tea effects.
Gyro And Spin
Gyro sells Spin for 25,000 moola after you finish his requirement chain. Only one Gyro can exist per server, and he alternates spots every 5 minutes.
Gyro is usually found around varied map points, especially behind trees in forest or swamp routes. He will not start the questline if you are above 40 years old or if you are not Battle Hardened.
Horses And Stables
Every slot starts with a mule. Press H to summon it.
Horse stables let you swap that default mount for a custom horse. The main points are:
- horse offers usually run from about 150 to 1500 moola
- rerolling the current stable offer costs 20 moola
- 800+ moola is the usual sweet spot for strong horses
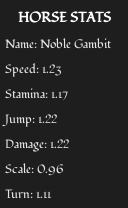
- horse stats can vary from 0.85 to 1.25 in speed, stamina, jump, damage, scale, and turn
LEGENDARYandMYTHICALhorses exist and boost already-rolled stats rather than guaranteeing a perfect horse
This means a strong horse is not always the most expensive one. You still need the right stat spread.
How To Read Horse Rolls
Stable NPCs give you three useful pieces of information: price, horse name, and a vague quality description.
| Stable result | What it usually means |
|---|---|
| low price / weak description | Usually a bad horse you only keep if you are completely broke |
| middle price / average description | Serviceable, but rarely exciting |
| 800+ moola / strong description | Usually the range where worthwhile horses start showing up |
LEGENDARY or MYTHICAL in full caps | A boosted horse, but only as good as the stats it rolled with |
Rerolling the stable offer costs 20 moola, so you do not need to accept a bad horse just because the first one looked clean.

Mud Witch Services
Mud Witch has two core services:
| Service | Outcome |
|---|---|
| Fortune reading | Card roll route (see Cards) |
| Dogbane Herb trade | Choose one: stand wipe if you have a stand, age reduction by 20 years, or 2500 moola |
That makes Dogbane one of the most flexible rare drops in the game.
Red Corner Fight Club
Red Corner is not just a novelty arena. It is one of the game's direct wager loops.
- losing costs 300 moola
- both players register on the mats
- the fight happens below
- guns and utilities are disabled inside the arena
If you trust your melee play more than your gear, it is one of the cleaner ways to convert skill into money.
Spawn Change NPCs
Spawn management is its own service layer:
- each spawn has a corresponding NPC
- switching costs 150 moola
- spawn sets stay locked to your alignment
- spawn NPC lineup includes Grand Hotel, Digsite, Campsite, Outlaw Hideout, Outlaw Hills, Red Corner, and Sandtown handlers
If you want a safer progression path, manage your spawn proactively instead of waiting until the map starts forcing bad respawns.
Manual Wipe And Limbo Status
Manual wipe is the consistent reset option for build changes.
- use manual wipe when you need to fully reroute a slot
- treat heart-failure / limbo-style flows as inactive unless they are clearly re-enabled in-game
- avoid planning long builds around inactive wipe systems

Read Next
- Spawn Points for full spawn breakdown and screenshots
- Getting started for first-hour setup
- Brewing for tea plants and kettle routes
- Horses for stable reroll strategy
- First Session Route for opening route flow